AI Food Photos for Your Menu: Sell More Without a Photographer
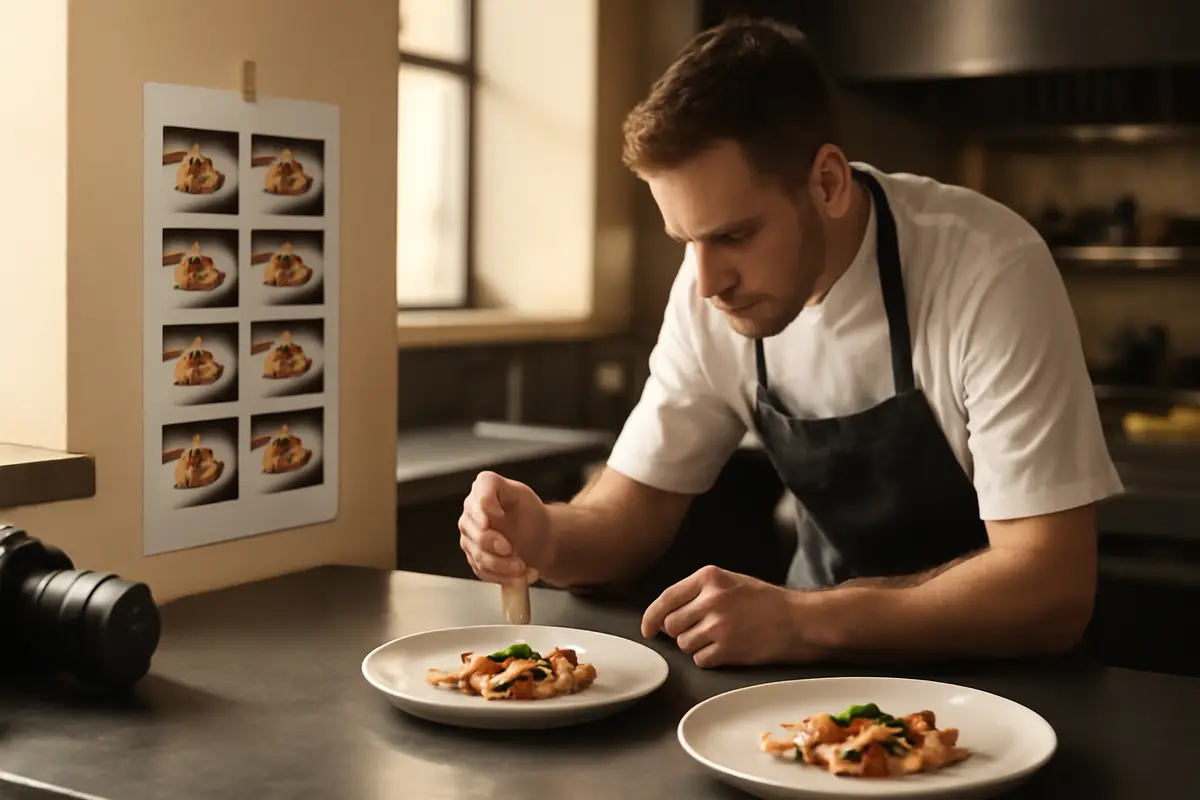
AI food photos for menus have become a very practical solution for restaurants that want to sell more through their digital menu but do not have the budget for a full professional photo shoot. The problem is real: many venues upload a QR menu without images, with mismatched photos taken in a rush, or with a style that does not represent the dish. And that shows up in sales, perceived quality, and the customer’s purchasing decision—especially when ordering from a mobile device and comparing options within seconds.
The good news is that it is now possible to generate much more attractive, consistent, and useful food images for menus without always relying on a professional photographer. The key is not to “create pretty photos,” but to produce images that help customers choose, build trust, and accurately reflect what actually comes out of the kitchen.
Why photos sell more on a digital menu
With a physical menu, customers usually read at a more relaxed pace. On a digital menu, however, attention spans are much shorter. People scroll, compare quickly, and make decisions sooner. In that context, a well-executed photo acts as a mental shortcut: it helps customers understand the dish, reduces uncertainty, and immediately stimulates their appetite.
This is especially important for categories where the name alone is not enough: rice dishes, burgers, desserts, bowls, brunch, or fusion cuisine. If customers cannot visualize the final result, choosing becomes more difficult. That is why many restaurants first prioritize their signature dishes within their AI-powered digital menu and leave the rest for a second phase.
Key fact
In common digital menu tests, dishes with images tend to receive 15% to 30% more clicks or selections than dishes without photos, as long as the image is clear, consistent, and accurately represents the actual portion.
Photos also serve a second, less obvious purpose: they manage expectations. When an image clearly shows the size, plating, and side dishes, it reduces questions such as “Does this come with a side?” or “Is this a large portion?” Fewer questions mean less friction and faster ordering.
When it makes sense to use AI food photos for your menu
Not every restaurant needs a traditional photo shoot from day one. AI makes particular sense in four scenarios: opening a new venue, changing the menu, digitizing the menu quickly, or improving old images without taking on a high cost.
- Venues with 20 to 60 items and a limited initial budget.
- Restaurants that change dishes seasonally and cannot repeat photo shoots every three months.
- Businesses with disorganized photos taken under different lighting conditions, with different phones, and against different backgrounds.
- Brands that want to visually test which dishes convert best before investing more.
AI also works very well when you already have a minimal foundation: a photo taken with a mobile phone, a clear description of the dish, or visual style references. The better the starting point, the easier it is to achieve a result that works for both the menu and delivery.
Practical example: a restaurant with 28 dishes wants to highlight only 10 key items. Instead of booking a complete €900 photo shoot, it can first generate those 10 images for its QR menu, measure which ones increase sales, and then decide whether it is worth professionally photographing the entire menu.
This approach reduces risk and speeds up the launch.
Real cost: AI vs. a professional photo shoot
This is where many restaurant owners make their decision. A professional photo shoot is still a great option, but it does not always fit the budget or timeline. Between the photographer, styling, dish preparation, retouching, and coordination, costs can quickly add up.
Approximate cost comparison
- Basic shoot: €300 to €700 for 8–15 dishes, without extensive production.
- Mid-range shoot: €800 to €1,200 with more dishes, retouching, and visual direction.
- Complete brand shoot: €1,500 to €2,500 or more if it includes the venue, equipment, lifestyle content, and campaigns.
- AI generation: from €50 to €150 per month for tools and testing with a small catalog, or somewhat more if curation and editing are outsourced.
This does not mean that AI always “replaces” the photographer. It means that AI can address 80% of the visual need in less time and with less initial investment. For many businesses, that 80% is exactly what they need to improve their digital menu today—not three months from now.
Another important saving is operational. A real photo shoot requires the kitchen to pause, dishes to be prepared outside the normal service routine, and plating to be repeated several times. If you calculate staff, waste, and time, a shoot that appears inexpensive can cost considerably more than what is shown in the quote.
Do not look only at the cost—look at how you will use the images
If you plan to renew images every season, update specials, or test temporary dishes, AI usually has a clear advantage. If you need assets for campaigns, press, or outdoor advertising, professional photography is still extremely valuable.
Which dishes should you photograph first?
One of the most common mistakes is trying to illustrate everything from the beginning. You do not need to. For most restaurants, 8 to 12 strategic photos can already have a noticeable impact on sales if they are chosen well.
Prioritize these groups:
- Bestsellers: dishes that already perform well and could sell even more.
- Highest-margin dishes: where each choice generates greater profitability.
- House specialties: what sets you apart from the competition.
- Dishes that are difficult to imagine: creative names, international cuisine, or lesser-known recipes.
- Premium desserts and drinks: these usually respond very well to visual appeal.
If your menu also manages sensitive ingredients, it is worth aligning the image, text, and technical specifications. A photo does not replace mandatory information. That is why it is useful to review everything together with the allergen information in the digital menu to avoid inconsistencies between what customers see and what they are served.
How to generate AI food images that actually look sellable
The difference between a useful image and an image that looks “too AI-generated” usually comes down to the brief. If you ask for something generic, you will get a generic photo. If you define the dish, angle, texture, tableware, background, lighting, and brand style, the result improves significantly.
A simple guide to AI food photography briefs:
- Describe the exact dish: ingredients, sauce, toppings, and sides.
- Specify the type of framing: overhead, 45-degree angle, or close-up.
- Define the lighting: soft natural, warm, side-lit, or midday.
- Set a consistent environment: light wooden table, matte black tableware, clean background.
- Ask for a realistic portion: avoid impossible towers or oversized servings.
- Always use the same visual direction across the entire menu.
Example of a useful prompt
“Double smash burger with melted cheddar, pickle, special sauce, and a shiny brioche bun, served on a dark plate with homemade French fries, realistic food photography, 45-degree angle, natural side lighting, neutral background, premium urban restaurant style, believable portion, crisp texture, no extra elements.”
If you have a real photo taken with a mobile phone, it is often better to use it as a base for improving the lighting, cleaning up the background, or creating visual consistency. This hybrid approach usually produces more honest results than generating highly complex dishes from scratch.
The IAMenu AI assistant and other tools connected to the digital menu ecosystem help organize content and images more efficiently. This becomes especially important as the menu grows and you need to maintain consistency across categories, text, and visuals.
Best practices to ensure the image does not disappoint the customer
The photo should stimulate the appetite, yes, but it must also be accurate. If the image promises an enormous burrata, meat cooked to an impossible level, or toppings that do not actually arrive on the plate, the effect works against you. The initial sale may increase, but satisfaction and reviews will decline.
These are the rules that work best:
- The same visual size as the actual portion, or very close to it.
- The same main ingredients that appear in the description.
- The same plating style between what the customer sees and what comes out of the kitchen.
- No excessive backgrounds that distract from the dish.
- No artificial oversaturation that changes the color of meat, vegetables, or sauces.
Quick validation rule
Before publishing an image, show it to the kitchen team and ask: “If this dish came out right now, would the customer recognize it as the one in the photo?” If the answer is uncertain, the image is not ready.
It is also worth checking that the image does not contradict sensitive information about ingredients or traces. If a dish is shown with a topping that is not always included, this should be specified. And if you manage mandatory information, you can rely on digital menu compliance solutions to maintain consistency and reduce errors.
Common mistakes when using AI for food photos
AI can speed up the process considerably, but it also makes obvious mistakes when it is not supervised. In food photography, these mistakes are often subtle at first and very noticeable when customers compare the image with the real dish.
- Impossible ingredients or ingredients repeated in strange ways.
- Plastic-looking textures in cheese, meat, or bread.
- Inconsistent tableware across dishes in the same category.
- Unrealistic shadows or unnatural reflections.
- Excessive decoration that does not exist in actual service.
- Dishes that look too perfect—more like renders than food.
Another common mistake is mixing styles. If some photos look homemade, others editorial and premium, and others hyperrealistic, the menu feels disorganized. Visual consistency is just as important as the individual quality of each image.
Review checklist before publishing
- Is the dish understandable in less than 2 seconds?
- Does the portion look realistic?
- Do the visible ingredients match the description?
- Does the visual style fit with the rest of the menu?
- Does it look good on mobile, not just on a large screen?
How to upload images to your QR menu without hurting load speed
A very large image can ruin the menu experience, especially on terraces, in hotels, or in areas with unreliable coverage. An impressive photo is of little use if it takes 4 seconds to load and the customer leaves before seeing it.
As a practical guideline, an image for a dish listing does not need to be 1 MB. In most cases, well-optimized files between 120 KB and 250 KB are enough to maintain good quality on mobile.
Basic recommendations:
- Use dimensions suited to the actual mobile experience.
- Compress images before uploading without losing visible sharpness.
- Maintain consistent proportions across all photos.
- Avoid overly detailed backgrounds—they weigh more and create distractions.
- Test loading with a standard connection, not just fast Wi-Fi.
If you are evaluating tools to implement all of this, it is worth reviewing pricing and integration options so that your images, menu, and operations are connected and do not depend on manual processes every time a dish changes.
When to choose AI, real photography, or a hybrid model
There is no single answer. The most profitable approach is often to combine both options depending on the type of dish and how the image will be used. A restaurant does not need to solve everything with one formula.
Recommended model
- Real photography: iconic dishes, chef’s signature dishes, campaign assets, and advertisements.
- AI: secondary dishes, menu variations, seasonal tests, and new items.
- Hybrid: start with a real photo and improve the background, lighting, or visual consistency for the menu.
This approach offers an excellent balance between authenticity, speed, and cost. It also allows you to iterate. You can first launch a visually solid menu, measure which dishes receive the most attention, and direct your professional photography budget toward the items that generate the greatest return.
If you want to see how other businesses are applying this approach, the use cases provide a clear view of which categories benefit most from visual support and the impact that a more polished digital menu can have on conversion.
Frequently asked questions
If you are considering adding AI-generated or AI-enhanced images to your digital menu, these are the most common questions that come up before publishing.
Do AI food photos for menus really help increase sales?
Yes. A carefully created image draws more attention to specific dishes and reduces uncertainty when ordering. On digital menus, many restaurants see increases of 15% to 30% in the selection of featured dishes when the image is clear, appetizing, and consistent.
How much does a professional restaurant photo shoot cost?
It depends on the city, number of dishes, and styling, but a basic shoot usually costs between €300 and €1,200. If it also includes spaces, drinks, staff, and advanced retouching, the budget can easily exceed €2,000.
How much does it cost to generate AI food photos?
The cost can be much lower than that of a traditional photo shoot, especially if you already have base images taken with a mobile phone. Between tools, testing, and editing, many businesses manage small catalogs for less than €50 to €150 per month.
Can AI photos be used if the real dish changes slightly?
They can, but you need to use judgment. The image must accurately represent the dish the customer will receive in terms of ingredients, portion, presentation, and sides to avoid complaints or a sense of deception.
Which dishes should you photograph first for a digital menu?
Start with bestsellers, highest-margin dishes, and specialties that need visual support. With 8 to 12 well-chosen photos, you can already influence a significant portion of purchasing decisions.
Is it better to use real or AI-generated photos in the menu?
The best option is usually a hybrid model: real photography when the dish is highly iconic or complex, and AI to complete missing items. This lets you maintain authenticity where it matters most while keeping better control over your budget.
What mistakes cause a food photo to perform poorly on a menu?
The most common are excessive retouching, unrealistic colors, cluttered backgrounds, inconsistent lighting, and unclear framing. If customers cannot quickly identify what they will receive, the image stops selling.
How can you integrate these images into a QR menu without slowing down loading?
Ideally, export images in optimized formats, compress them without losing quality, and use dimensions that work well on mobile. An image between 120 KB and 250 KB is usually enough to look good without affecting loading speed.
Are there legal or trust-related risks when using AI-generated images?
Yes, especially if the image exaggerates the ingredients, size, or presentation. To avoid problems, review allergens, the dish description, and visual consistency, and make sure you comply with the information shown to customers.
If your goal is to sell more on mobile without taking on the full cost of traditional production, AI food photos for menus can be a highly profitable advantage when used thoughtfully. And if you want to compare solutions before deciding, I recommend reviewing this guide to the best AI-powered digital menu in 2026.