How to Digitize a Restaurant Menu Step by Step
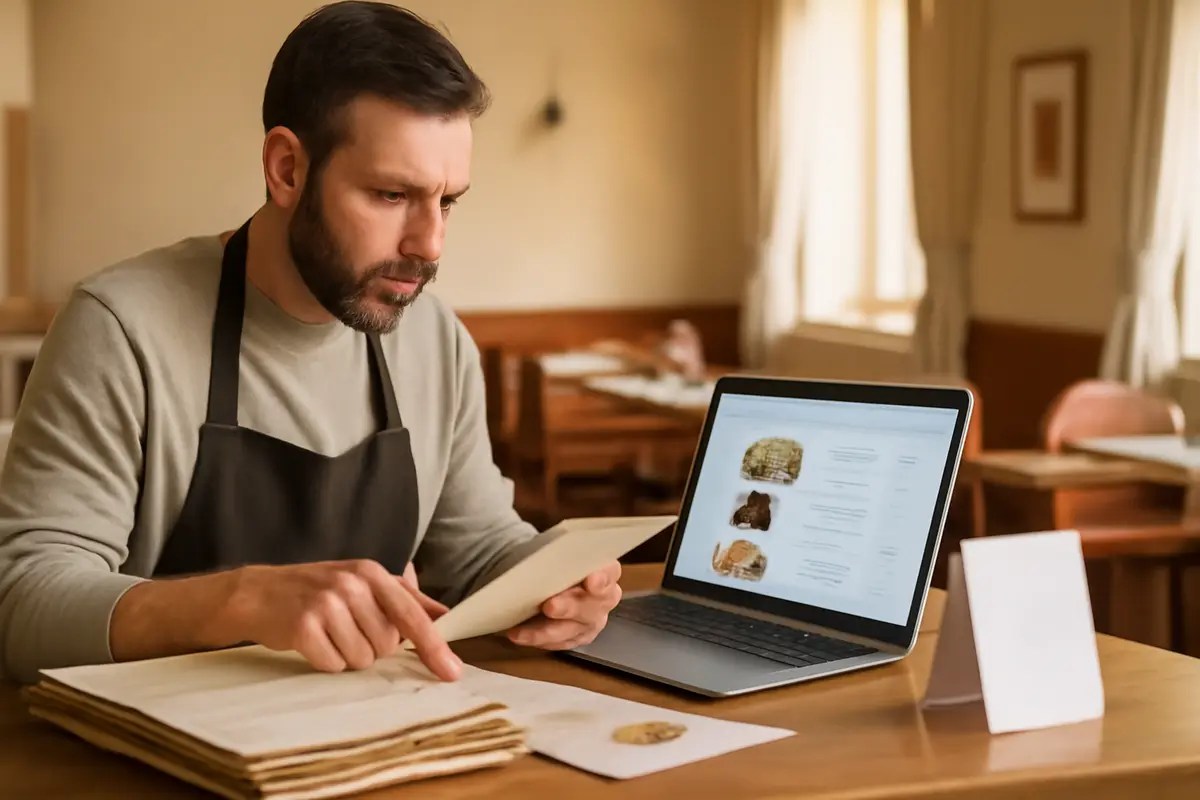
If you’re wondering how to digitize a restaurant menu step by step, you’re probably not looking for a complex project or an endless implementation: you want to stop relying on paper, update prices without reprinting, and have a QR code that works today, not in three weeks. The good news is that if you already have a menu in PDF or even some clean photos, the jump to a digital menu can be done in a morning. The key isn’t “knowing technology,” but following a clear order: upload the file, review what the AI extracts, correct prices, publish, and place the QR code properly in the dining area.
1. Before you start: what you need to digitize your menu
The most common mistake is starting with the QR code when you don’t yet have the content ready. To properly digitize a menu, you first need a reliable base: the current document, the correct prices, and a team member to validate the final result. If this fails, the problem isn’t digitizing; the problem is publishing an incorrect menu.
The minimum recommended materials are one of the following:
- A PDF of the current menu, preferably exported from design and not scanned.
- Sharp photos of each page, straight and well-lit.
- An updated list of dishes, descriptions, and prices.
- Information on allergens and supplements.
- The venue’s logo and, if you want, photos of dishes.
Practical tip
If your menu changes several times a year, each reprint can cost you between €60 and €300 depending on format, number of pages, and print run. A digital menu reduces that expense and, above all, eliminates the time lost on last-minute corrections.
If you’re still considering which solution to use, you can check the key features on this features page to understand what a digital menu platform designed for hospitality should include.
2. Upload your PDF or photos: the fastest way to start
For most restaurants, the quickest path is to upload the current PDF and let the tool try to recognize the structure. If your menu is well laid out, with separated categories and visible prices, the system can automatically detect a large part of the content without you having to copy dish by dish.
What makes a file work better?
- Clear text without busy backgrounds.
- Prices always written in the same format, for example €12.50.
- Obvious sections: starters, meats, desserts, wines.
- Few overlaps between text and images.
- Good resolution if you upload photos or scans.
PDF vs photos
- PDF: usually requires fewer adjustments and better preserves the original order.
- Photos: work if you don’t have an editable file, but require more error correction.
- Old scans: can mix columns, cut off prices, or confuse symbols.
If you work with an AI tool like IAMenu, this step is usually quite straightforward: upload the document, wait for the analysis, and review the initial proposal. What matters here isn’t the system speed, but that the source file is as clean as possible.
3. Let the AI extract dishes, categories, and prices
This is where you really save time. Instead of rebuilding the entire menu by hand, the AI identifies dish names, descriptions, prices, and in many cases, the hierarchy of categories. In a menu with 60 items, this can save between 2 and 4 hours of manual work.
Still, it’s important to understand something: automatic extraction speeds up the process but doesn’t replace review. The AI might read “1.80” as “18.0,” join two adjacent dishes, or misinterpret a supplement if the original design is confusing.
What to check right after extraction
- Decimals and € symbols.
- Long dish names or those with hyphens.
- Menus, half portions, and supplements.
- Duplicated or misordered sections.
- Descriptions that have been cut off.
If you also want to better structure the menu to sell more, not just to “have it online,” you might be interested in reading what makes a good digital menu with AI.
4. Correct prices and texts before publishing
This step protects your margin the most. A poorly reviewed digital menu can cause disputes in the dining room, incorrectly charged tickets, or avoidable complaints. That’s why, before thinking about design or QR, spend a few minutes validating the essentials: dish name, final price, supplement, language, and availability.
My recommendation is to do a review in two rounds:
- Round 1: management or person in charge reviews structure, categories, and prices.
- Round 2: kitchen validates ingredients, garnishes, and descriptions.
Realistic review example
In a menu with 48 dishes, a serious review usually detects between 6 and 12 adjustments: outdated prices, typos in descriptions, sold-out dishes still visible, or sections that no longer reflect current operations. Finding these before publishing saves incidents from the first service.
If your restaurant works in several languages, this is also the time to decide whether to keep exact translations or adapted versions. The important thing is to avoid inconsistencies: a wine priced differently in Spanish and English seems like a small problem but causes a lot of friction in the dining room.
5. Add allergens, tags, and useful notes for the customer
Digitizing isn’t just “uploading the menu to the internet.” It’s also an opportunity to make it clearer. If a customer can filter vegetarian dishes, see spiciness, detect gluten, or check key ingredients, you reduce repetitive doubts and improve the experience even before staff get involved.
That said, allergens must be reviewed with care. The digital menu makes updating easier, but the source of truth must remain the kitchen, technical sheets, and the venue’s procedures.
If this point worries you, you can dive deeper into allergen management from the specific allergens section and also review regulatory aspects in compliance and regulations.
Minimum recommended for each dish
- Clear and recognizable name.
- Visible final price.
- Brief description, not literary.
- Main allergens.
- Useful tags: vegetarian, vegan, spicy, gluten-free, etc.
6. Customize the design without complicating your life
Many owners get stuck here because they think they’ll have to “design a website.” That’s not necessary. In a digital menu, design should help the customer quickly find what they’re looking for and make the brand look polished. Nothing more.
With a clean base, usually it’s enough to adjust:
- Logo and restaurant name.
- Main brand color.
- Order of categories.
- Cover photo or images of key dishes.
- Available languages.
What works best on mobile
- Short and very visible categories.
- Prices aligned and easy to scan visually.
- 1 or 2 line descriptions, not long paragraphs.
- Photos only on strategic dishes, not everywhere.
If you also want to connect the menu with other business systems or processes, you can take a look at connection and integration options.
7. Generate the QR and test it like a customer
Once the content is reviewed, it’s time to publish and generate the QR code. This step seems trivial, but it’s where a significant part of implementations fail. A QR that opens slowly, redirects poorly, or can’t be scanned from the table is worth very little, even if the menu is perfect.
Before printing anything, test it in several scenarios:
- iPhone and Android phones.
- With good coverage and medium coverage.
- With high brightness and low brightness.
- From table, bar, and entrance.
- In the main language version and secondary ones.
Measures that usually work
For tables, a QR of at least 3 x 3 cm with good contrast is usually easy to read. If it goes on an entrance sign or glass, increase to 8 x 8 cm or more. Avoid textured backgrounds and leave white margin around the code.
In businesses with several spaces, like hotels, rooftops, pools, or room service, it’s advisable to use differentiated menus and QR codes by context. You can see similar use cases in this collection of examples.
8. Print the table sign and place it where it’s really used
Digitizing the menu doesn’t end when you publish it. It ends when the customer finds it and uses it without asking for help. That’s why QR placement matters as much as the menu itself. If the holder moves, reflects light, is blocked by napkin holders, or is too far away, adoption drops.
The three spots that usually work best are:
- On the table: stable holder, visible when seated, and easy to clean.
- At the entrance: to catch the customer before sitting or while waiting.
- At the bar: useful for quick orders or take-away.
Simple implementation example
A venue with 14 tables can start with 16 table holders, 1 sign at the entrance, and 1 at the bar. With basic laminated printing, the initial cost can range between €25 and €80, far below a full reprint of bound menus.
Add a brief instruction. Something as simple as “Scan to see the menu” still works better than leaving the QR without visual context.
9. Keep the menu updated without returning to paper chaos
The great advantage of having learned how to digitize a restaurant menu step by step is that from there, maintaining it stops being a nightmare. You no longer depend on running out of printed menus or improvised cross-outs. You change a dish, adjust a price, and it’s updated instantly.
To make this improvement real, define a simple routine:
- Weekly review of sold-out or seasonal dishes.
- Monthly review of prices and supplements.
- Quarterly validation of allergens and descriptions.
- QR test after any major change.
If you’re comparing costs before deciding, you can check pricing options. And if you want a broader view of automation applied to hospitality, Gaston can also give you useful ideas.
Frequently Asked Questions
Here are the most common questions from owners who want to move from paper menus to a digital QR menu without relying on technical profiles or external agencies.
How long does it take to digitize a restaurant menu?
If you already have the menu in PDF or readable photos, the process usually takes between 30 and 90 minutes. Most of the time is spent reviewing names, prices, allergens, and organizing categories before publishing.
Do I need technical knowledge to create a digital menu with QR?
No. Today you can upload a PDF, let the AI detect dishes and prices, and then review the result from a visual interface. The only real technical step is usually printing the QR code and placing it properly in the dining area.
Which file format is better to start with, PDF or photos?
PDF is usually the best option because it maintains structure, fonts, and section order. If you don’t have a PDF, sharp and straight photos also work but typically require more manual correction.
Can AI automatically extract dishes and prices from a menu?
Yes, as long as the document is legible. In clean and well-laid-out menus, automatic extraction can save several hours of manual copying, although it’s advisable to review decimals, supplements, and combination names.
How are allergens reviewed when digitizing a menu?
It’s recommended to validate dish by dish and rely on your technical sheet or the kitchen. A digital menu helps update allergens quickly, but the final responsibility remains with the establishment and must be well verified.
How much does it cost to switch from paper to digital menu?
It depends on the tool and number of locations, but it’s usually much cheaper than reprinting menus every time prices change. A single price or seasonal dish change can amortize the cost in very little time.
Where is the best place to put the menu QR code in the restaurant?
It works best on tables, entrances, and bars, always at a comfortable height and with good visual contrast. If the venue has a terrace, it’s advisable to add sturdy holders and a QR visible from the seated position.
Can the digital menu be edited after publishing?
Yes, and that’s one of its main advantages. You can change prices, hide sold-out dishes, add photos, or correct texts in minutes without having to reprint the entire menu.
What mistakes should be avoided when creating a QR menu?
The most common mistakes are publishing without reviewing prices, using a QR that’s too small, uploading a blurry PDF, and not testing the menu on several phones. It’s also common to forget versions in other languages or allergens.
In summary: if you start with a clean PDF, carefully review prices and allergens, and test the QR before printing, digitizing your menu is much simpler than it seems. And if you want to see which features are worth having from day one, you can continue with this features guide.